Melon Brawler
3lb lifter for sportsman combat (2023)
For an overview of Melon Brawler as a design, please go here
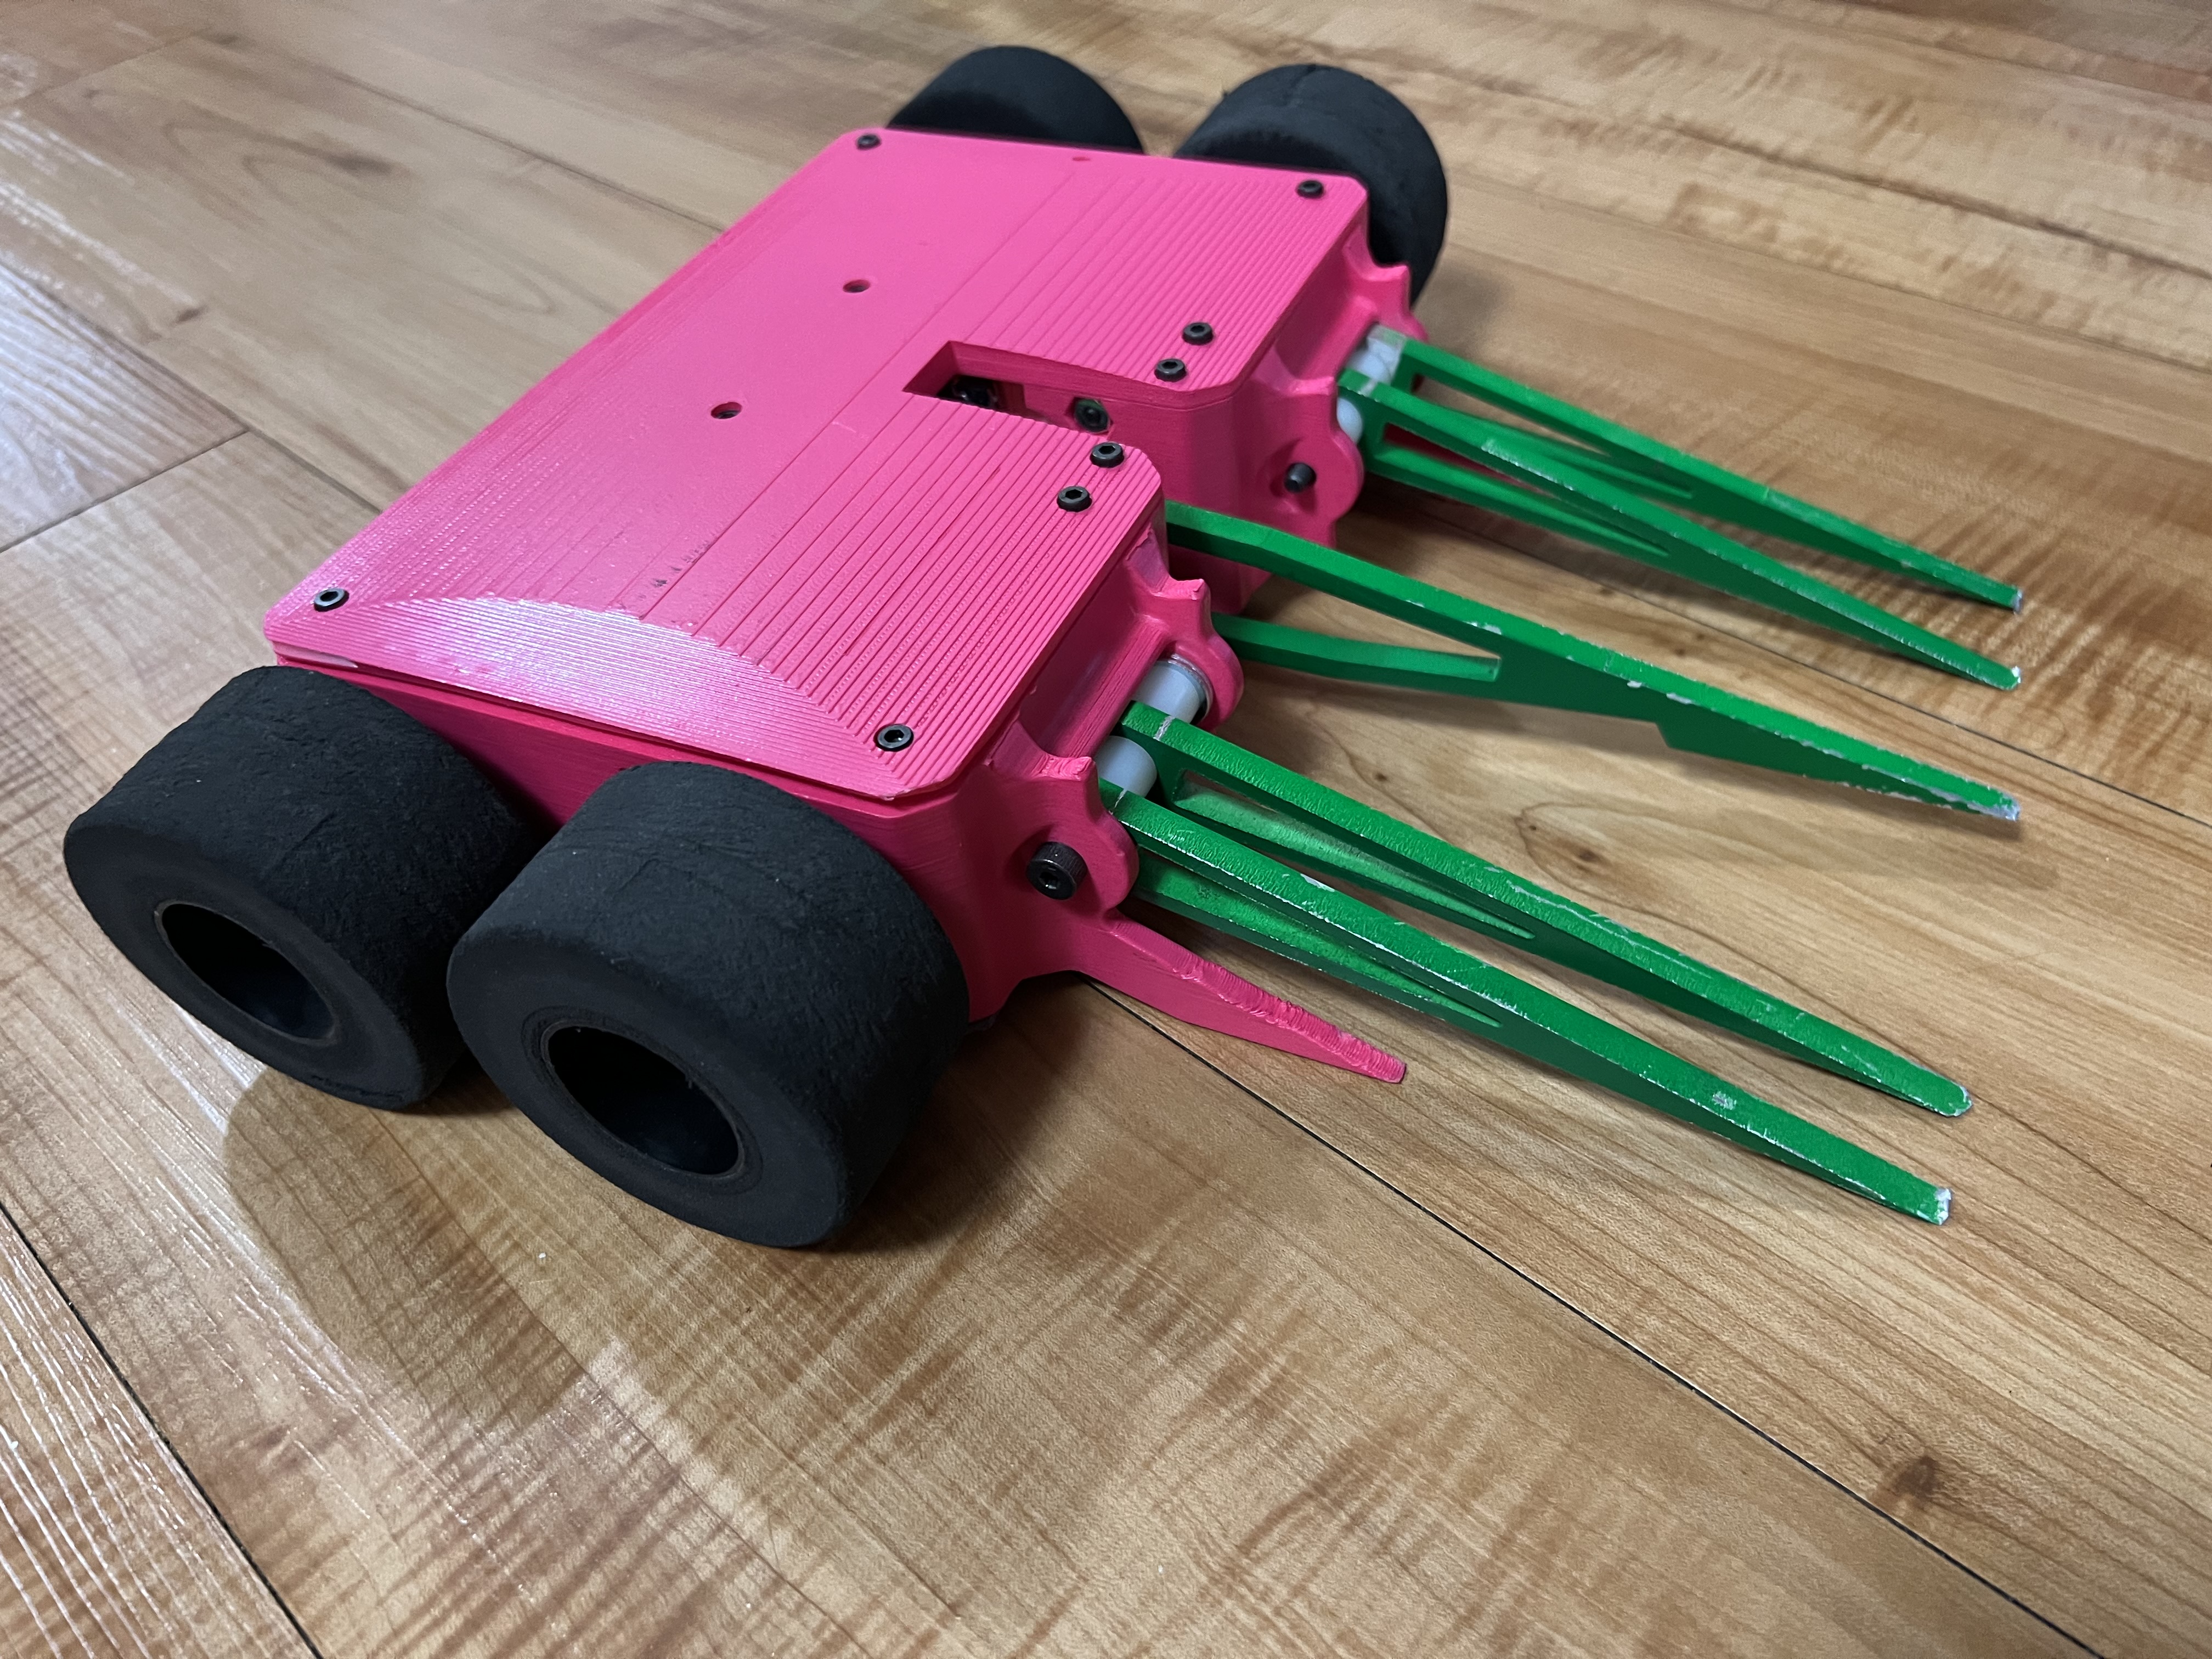
My university hosts an open-air sumo/battlebots hybrid competition, and, having experience in robot combat, I decided to start planning early. The rules were relatively simple; 3.5lbs, no damaging weapons.
I decided to throw everything I knew into one robot that could (hopefully) sweep the event.
Important Features
- Four wheel drive
- Powerful 22mm Gearmotors
- Central lifting fork
- Passive scraping forks
This robot would be constructed similarly to Blastwave, with a U-shaped PLA chassis, 3d printed in one piece, with lids that would bolt on top and bottom. In addition, there would be two internal plates that would support the weapon motor and geartrain. The passive forks would be mounted on 3d printed brackets that screwed into the front of the robot.
The drivetrain would be powered by four 22mm_gearmotors which are one of the standard options for 3lb robots. The particular variation used is the Viper model from Just_Cuz_Robotics. The weapon motor would also be powered by one of these, but a high gear reduction model, also from Just_Cuz_Robotics, which would have more than enough torque to lift an opposing robot.
The weapon motor would power the fork through a set of Gobilda gears, travelling through a 15T pinion into a 48T hub gear. The hub gear would ride on bearings I would press into the fork body, and would be supported by a shoulder screw. Similarly, the shoulder screws would also be used up front to hold the passive forks, which would similarly run on bearings to keep them scraping the ground. I would be using 1/4 inch shoulder screws and needle roller bearings, the same setup used in Blastwave III.
In terms of electronics, I would be using the trusty Fingertech Switch as my on/off control, and the drivetrain would be powered by some random ESCs found on amazon. These ESCs came DOA, and were quickly swapped out for Quicrun_1060 models, one for each side of drive. The weapon would be controlled by a Robotpower_Wasp, which is a nifty high-current controller that also features limit switch inputs to prevent systems like lifters from overdriving. In terms of R/C control, I would be using a FSi6 radio system to control the robot, which is a system I've used before and really like.
I printed out the chassis and started assembling it, but the heat-set-inserts I was using to attach the lids and plates to the main part of the chassis proved too difficult to accurately put in, and I decided to fix this.
But not before doing a bit of driving. This thing is powerful!
V1.5
Melon Brawler 1.5 is the expanded deluxe edition of Melon Brawler V1. By that I mean that this version is extremely similar to the first model, using the exact same electrical components (and many mechanical too!) but streamlining the whole assembly.This iteration was much smaller than the initial one, opting for less gap between the wheels. This was a bit risky, but the cad seemed to prove that everything could fit, so I decided to send it.
The main change between this and the last version was that I opted to change the heat-set inserts out for 6-32 standoffs, which would run through the whole chassis. They took up more space than the inserts, but should provide a bit more rigidity, and be much less hassle.
Because I was no longer using heat set inserts, I moved the fork assembly over to a peg-lock mechanism, that would be attached to the main chassis with screws. This would enhance rigidity, and allow the plates to be attached to the chassis without requiring the lids to hold everything.
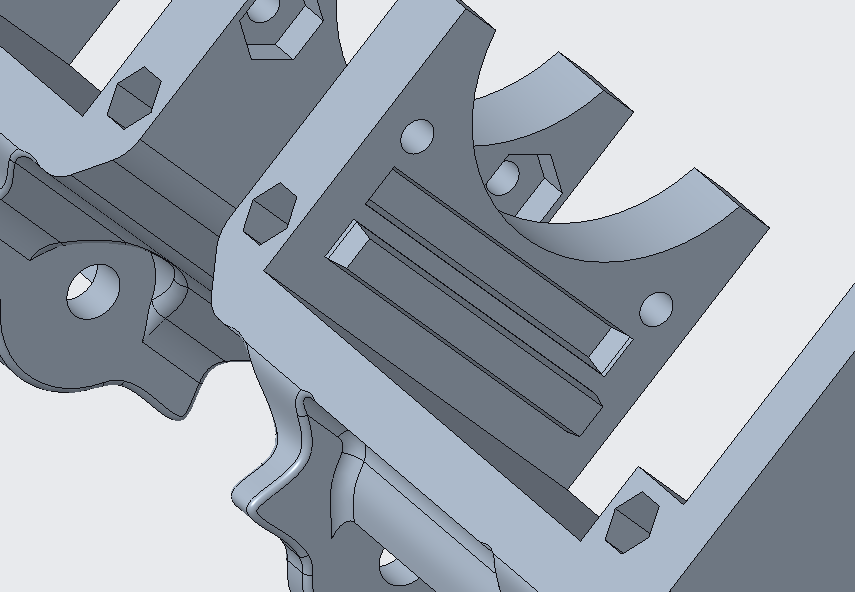
In addition, I decided to embed the passive fork mounts into the chassis instead of having a separate piece that bolts on. This was partly for style points and partly because I didn't want to have to deal with fasteners.
Speaking of style points, I decided to also freshen up the lids and the back of the chassis. I'm still chasing that turn-of-the-century tech vibe I started with Dreamphaze 2, and this is way closer.
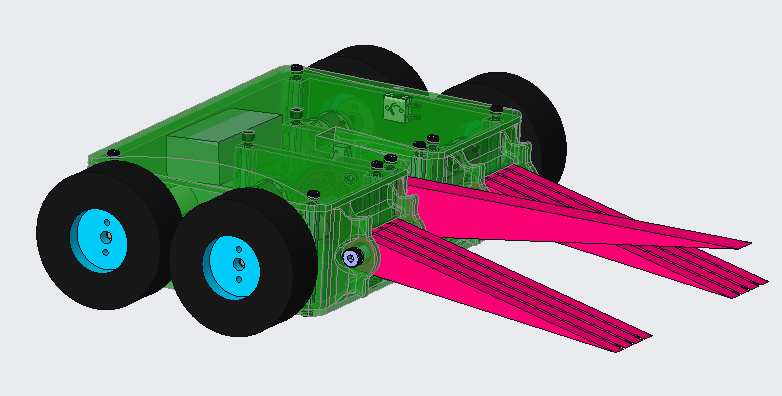
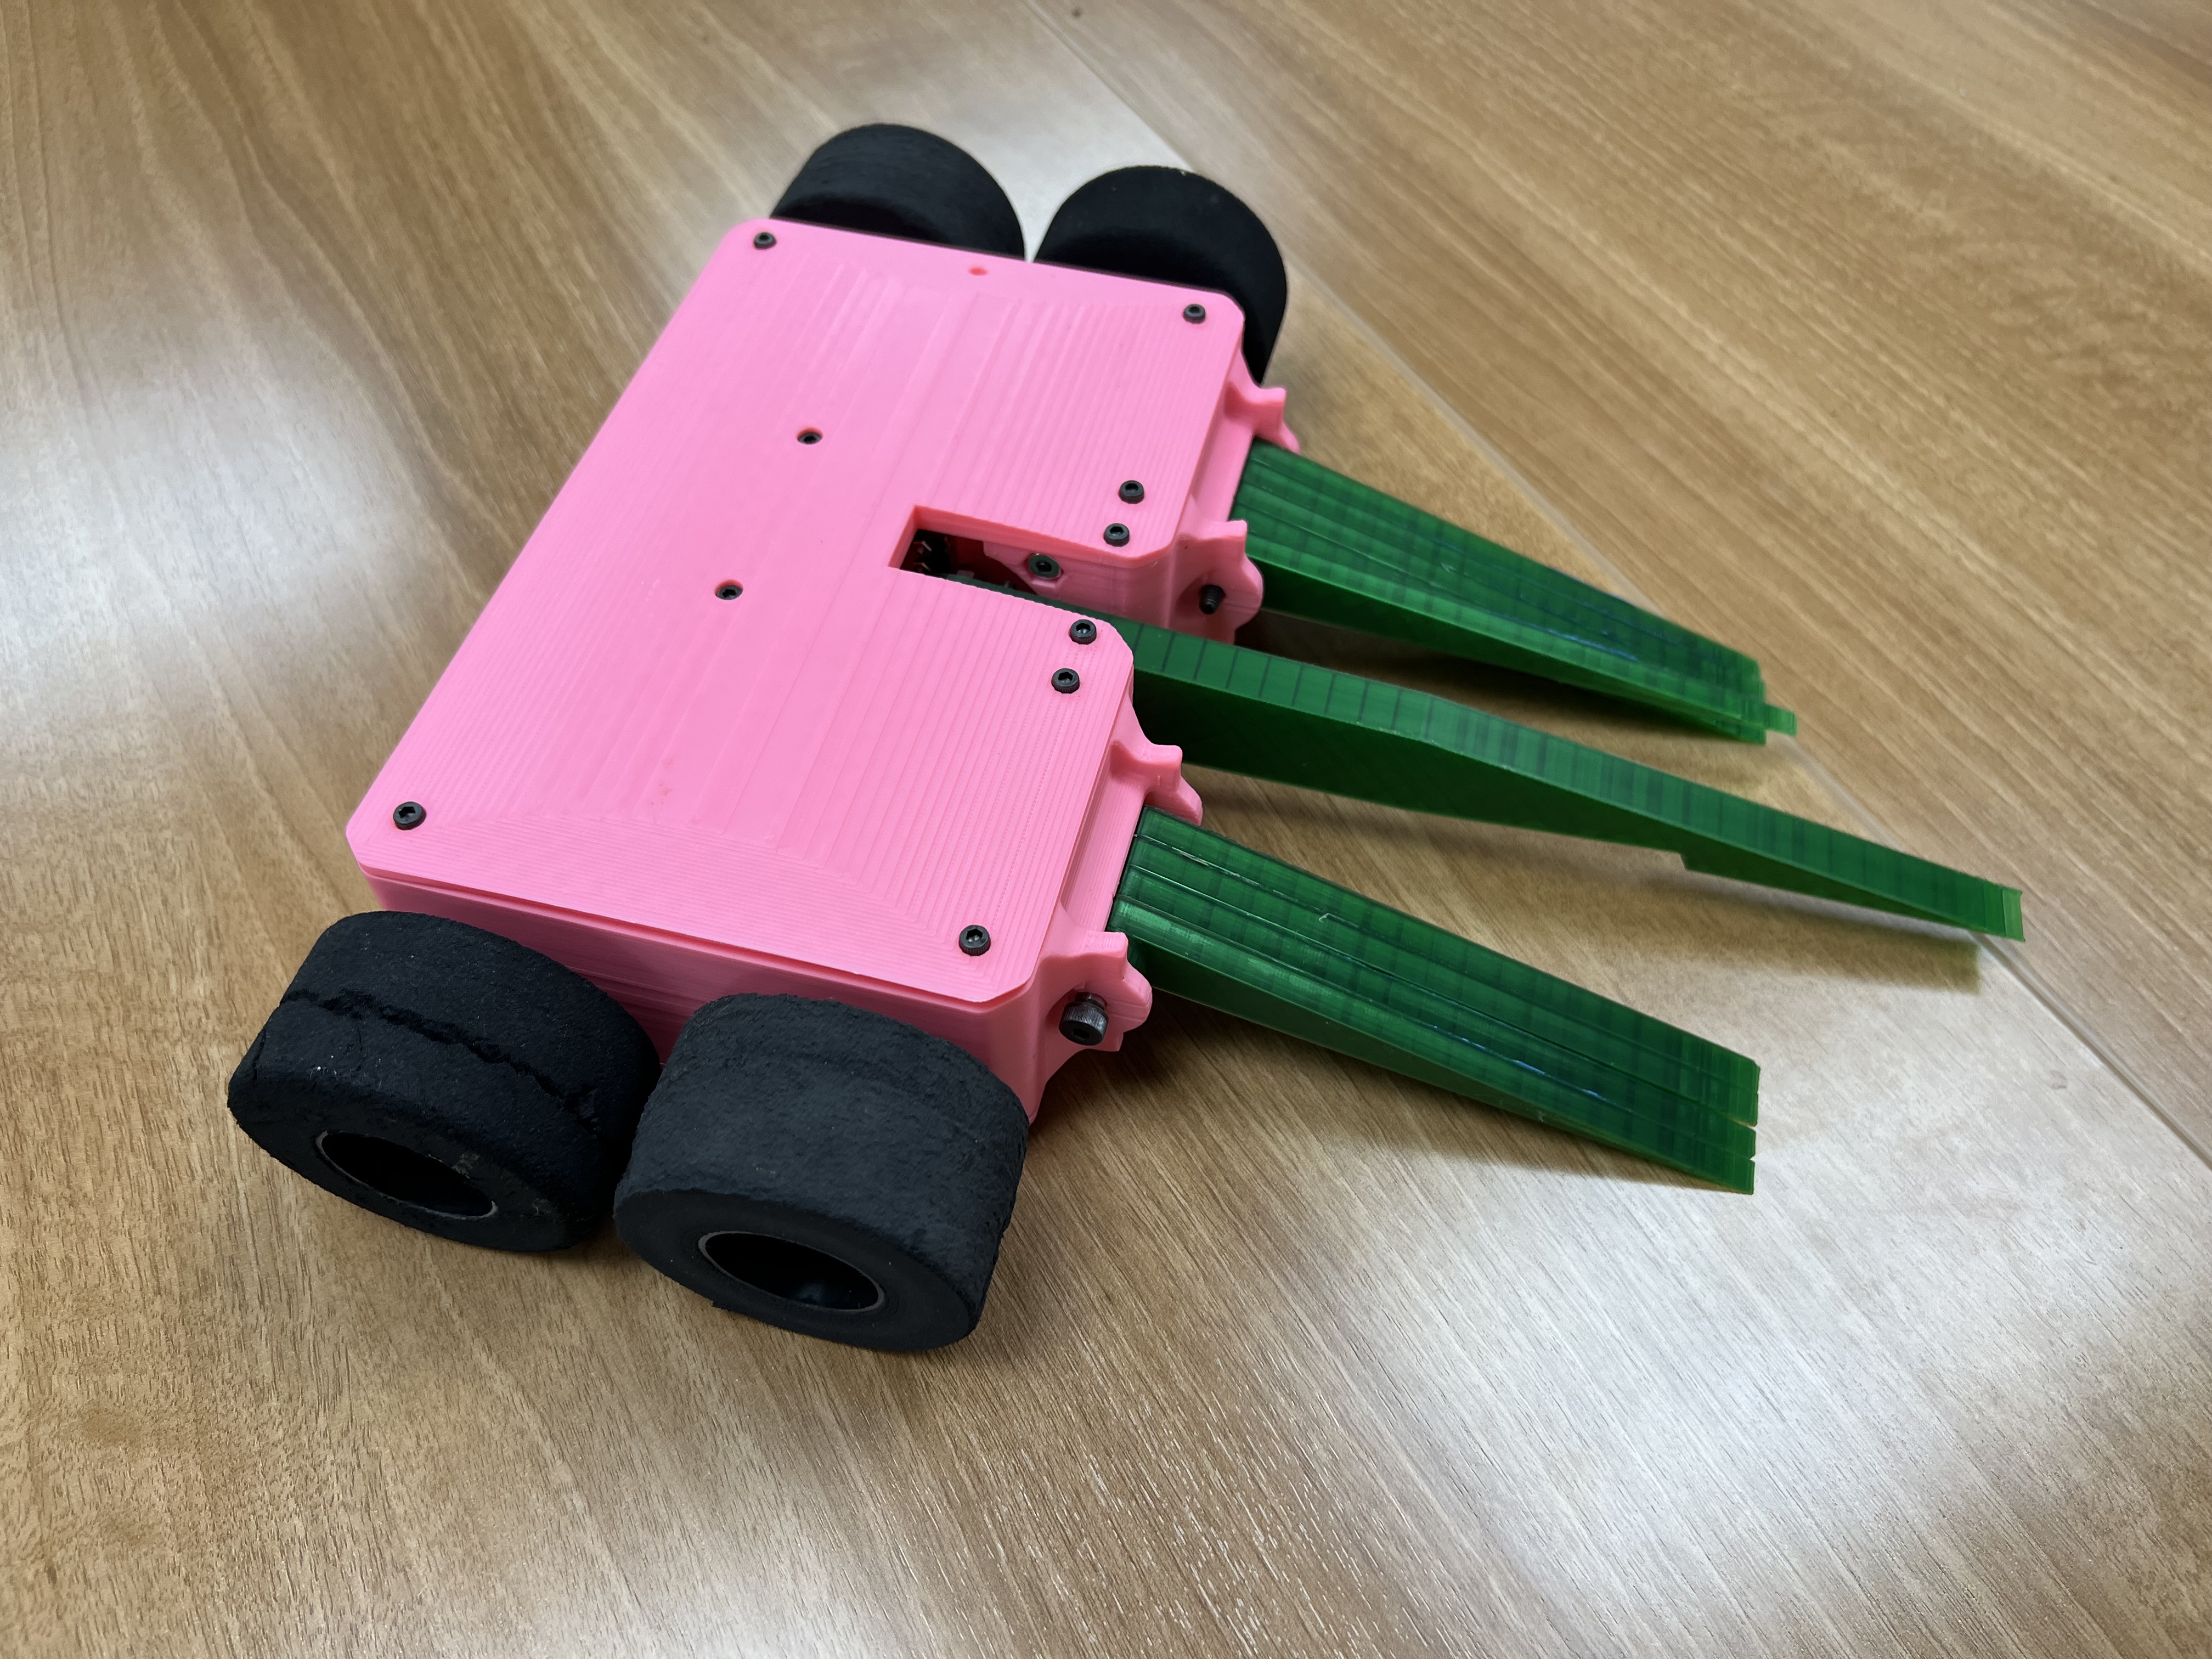
After assembly, everything ended up turning out pretty alright! I initially assembled it with 3d printed forks to get a feel for it, though these would be eventually changed over to sharpened aluminum forks with the final version.
I also switched from the Fsi6 transmitter to my Dx6e. The reason for this change was that the Dx6e has the ability to change its throttle from the standard throttle (where the stick's vertical axis stays where you put it) to a springback (where the vertical axis springs back to center much like the elevator or aileron channels). This can be accomplished with the switch on the back, and was extremely useful for more accurate lifter positioning. If I wasn't able to return the throttle manually to center with a standard throttle control, the lifter would have continued moving until it hit the limit switches that stop the lifter travel. However, with this, I can simply drop the stick and the lifter will cease movement instantly. (^_^)b
I did some driving practice with the fork setup, and when attempting to lift heavy objects, the chassis would tip. The solution to this was simple, add some rigid forks to the chassis, inspired by Charles Guan's Überclocker.
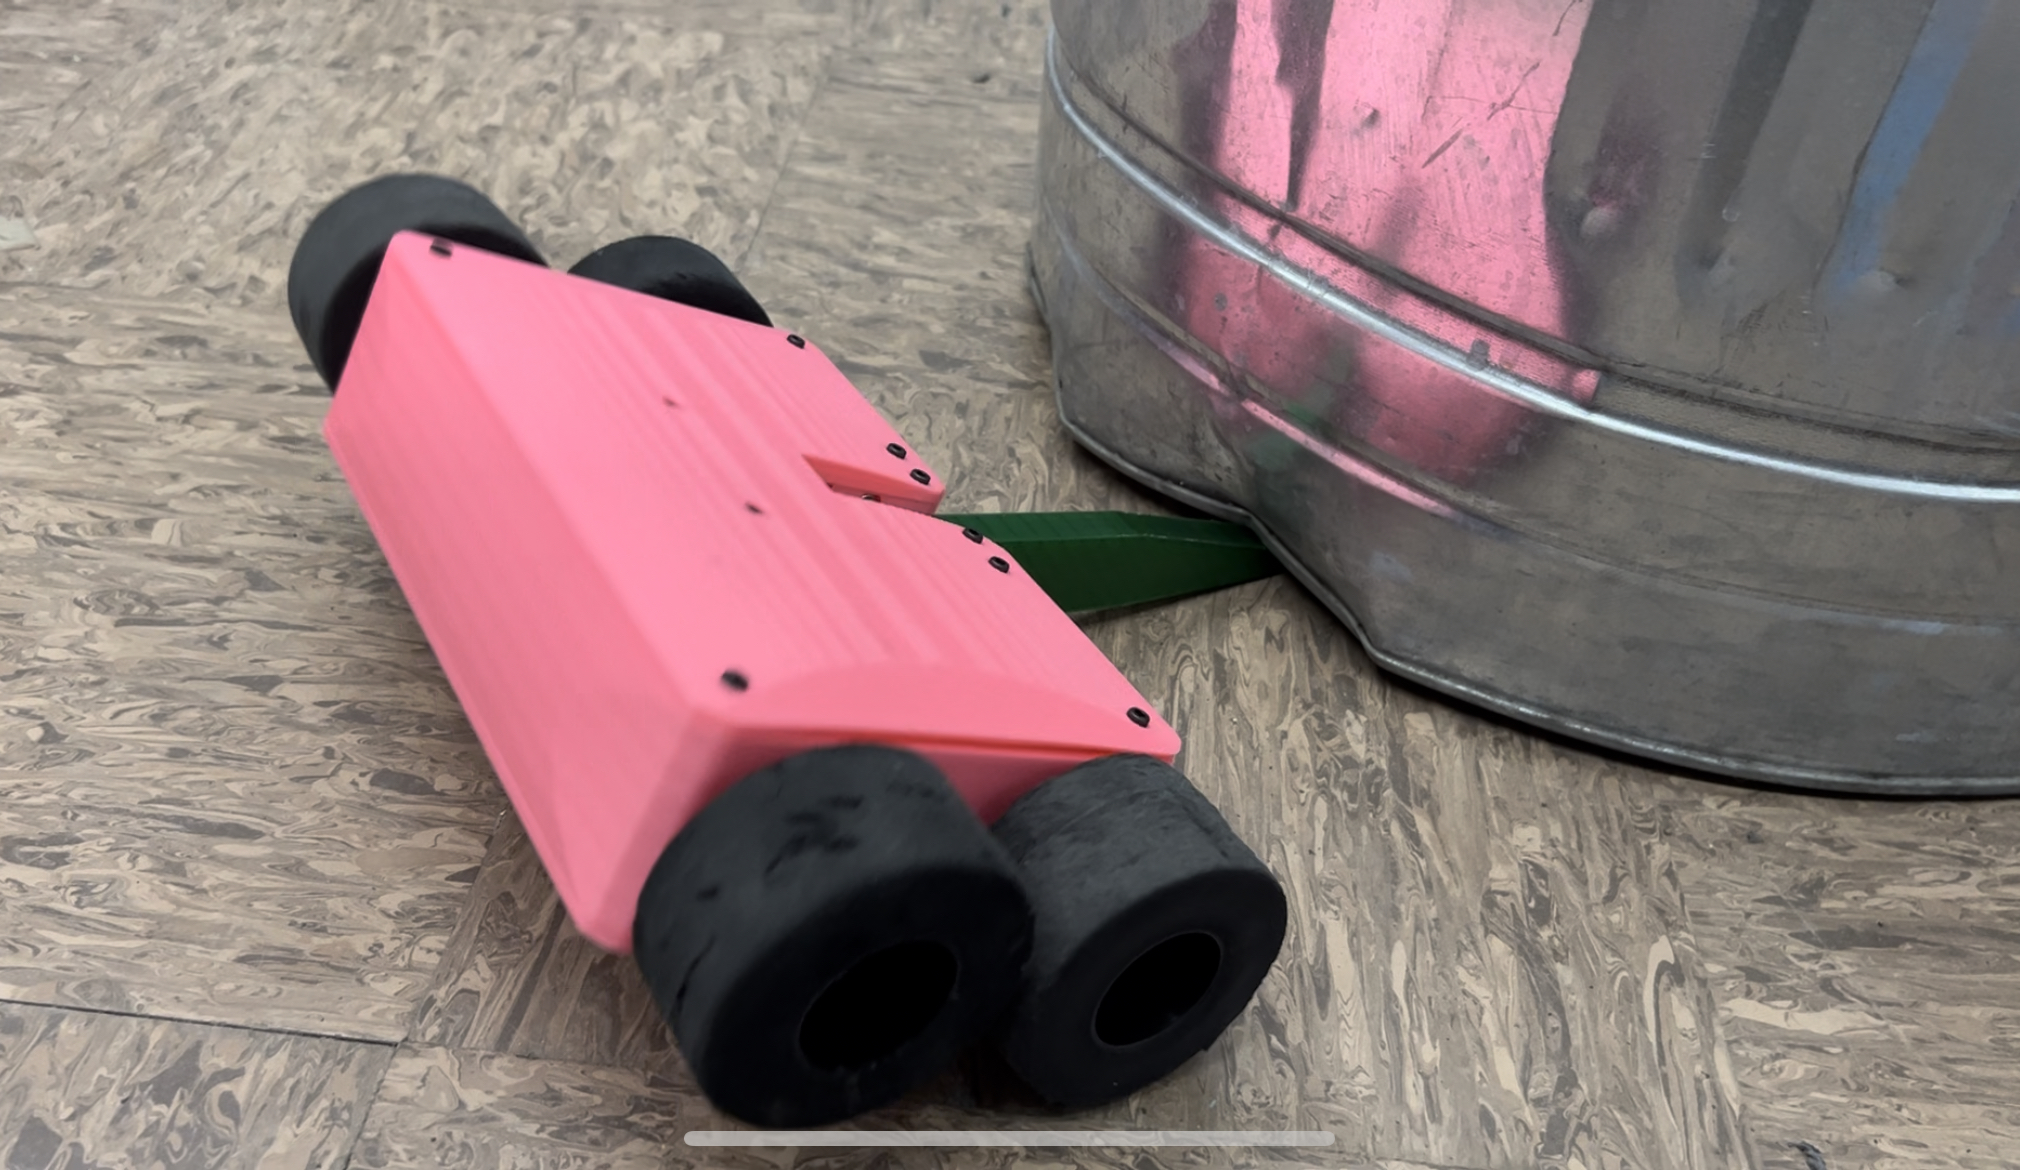
The static forks can be seen in the below image, along with the finished aluminum active and passive forks. These were all cut from aluminum due to its low weight and availability on SendCutSend. These had SCE44 needle roller bearings sourced from Fingertech press-fit in using an arbor press, which rode on 1/4 inch shoulder screws. I was remarkably happy with how this turned out, the forks did their job of scraping the floor.

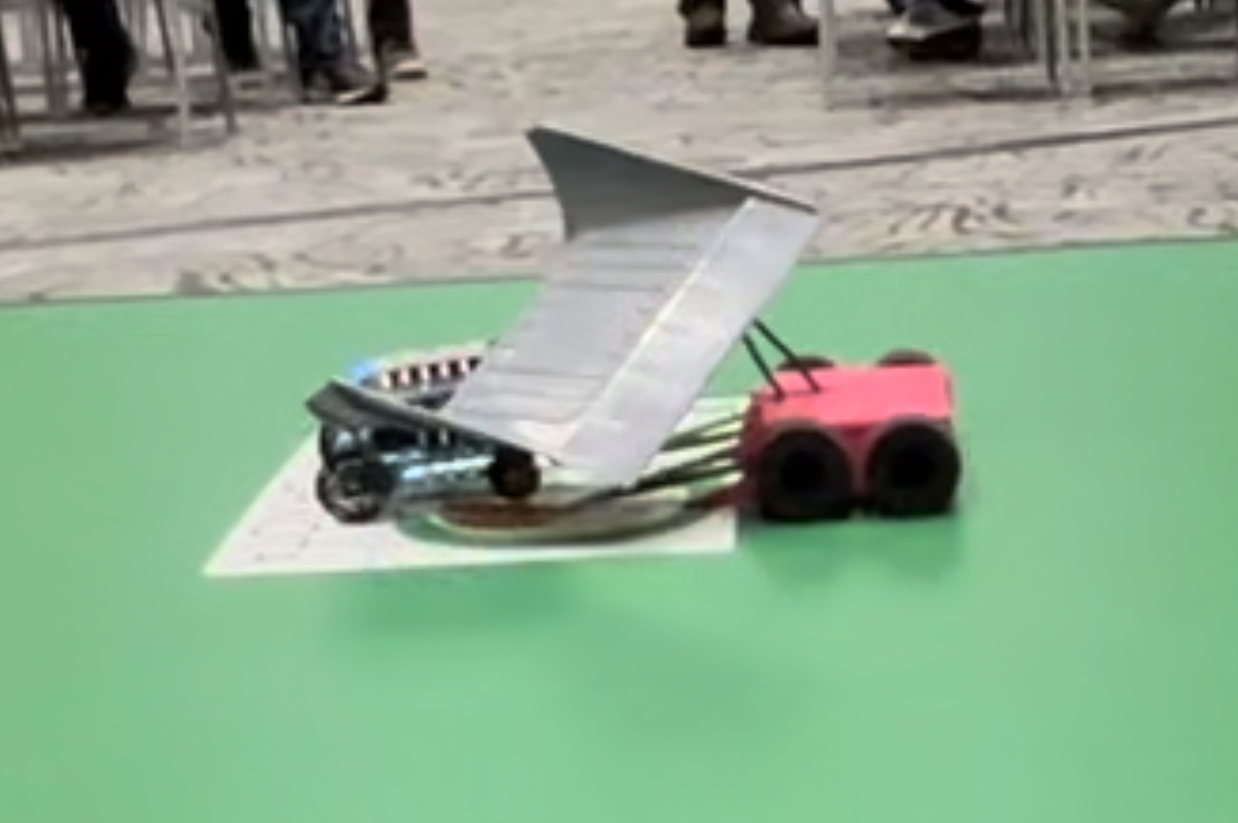
After a bit more driving practice, zipping down the halls and attempting to corral some shoes, it was time for the big day. The event started off strong, with Melon Brawler relatively easily winning its first three fights. However, there was one issue where the robot would suddenly shoot forward at full throttle at random intervals. When attempting to debug this, I broke the connections for the motors on the left side of drive. The question is why did they break? I never put any strain relief on the connectors (-‸ლ) I definitely won't be making that mistake again.
The event had no set schedule or on-deck system, with the next match chosen at random, this led to rushing to get the bot reassembled when called up. Because I was rushing, I attached the ESCs to the receiver wrong, and had no drive for the next fight, leading to a loss. While I wanted to continue fixing my drive, I did not bring a soldering iron to the event due to the likelihood I would have been asked to leave if I used it. I decided to deliberately remove all of the electronics for the left side and utilize the crabwalking method of locomotion.
With one side of drive, I was able to maneuver effectively enough to win my final two matches to clinch the event. It was a great learning experience, with a lot of lessons learned that can be applied to future robots. With everything said, I'm pretty glad I ended up breaking the wires. For one, it was nice to see the importance of strain relief first hand in a relatively low-stakes environment. For a second reason, I got to practice crab-walking with actual opponents, which is an extremely useful skill to have in combat.
LESSONS LEARNED
The first lesson is to utilize strain relief. I can't remember ever using this on my bots in the past, and I have no idea how this hasn't bitten me at full-combat events. Realistically this should have been fixed way before it became a problem, but I can assure you its not a mistake I'll make again. Immediately after the event I went and re-soldered the motors, dousing the connectors in hotglue to make sure they would have some relief.
The second lesson is to practice driving on uneven floors, at the very least if you are running forks. I got caught up on a seam in the floor several times, and while it didn't cost me any matches, it would be nice to establish some strategies for dealing with this.
Future Work
- Figure out if robot driving on its own was a calibration, electrical, or interference issue
- Redesign for full combat - Melon Brawler 2
Parts List
Dartbox V2 Drive (Viper) - Drivetrain
The drive motors are Dartbox V2 drive, which were selected since they are, at the time of design, basically the highest end brushed drive motors at the 3lb scale. They conform to the 22mm planetary scale, which means that they contain all the benefits of that platform (increased shock absorption relative to spur gears, relatively secure mounting), but with the added benefits of much more powerful motors, longer shafts, and reduced weight in the gearbox ring.
Quicrun 1060 - Drive Controller
The drivetrain is powered by two Quicrun 1060 ESCs, each of which are advertised as 60 Amp controllers. Each controller drives one side of drive, with splitter cables. I'm not sure if I recommend these, the drive system started going haywire at competition, but I haven't figured out the cause yet. These things did survive getting a battery plugged into the motor leads (Don't robot while sleep deprived!!), so that could be the cause, but it is still impressive that they survived that.
RobotPower Wasp - Lifter Controller
This project used a Robotpower Wasp controller for the lifter. This controller was advertised as a current-limited speed controller, which meant that I wouldn't have to worry as much about pulling too much current at stall and killing the controller. It also had limit switch inputs to prevent the lifter from overdriving and eating itself.
Dartbox V2 HR (107:1) - Lifter Motor
The lifter motor itself is the Just Cuz Robotics Dartbox V2 HR, which boasts an impressive 380 oz-in (2.6 n-m) of torque at only 60g. This motor came stock with a 4mm shaft, which meant that it could interface easily with a number of hubs and gears. It's basically just a higher reduction version of the drive motors.
Gobilda Gears - Lifter Power Transmission
The lifter went through an additional 3.2:1 reduction, partly to increase the safety factor on the lifter, and partly to more easily mount the lifter. The pinion mounted directly to the shaft of the drive motor, and the hub gear bolted to the lifter fork.
SCE44 Needle Roller - Lifter and Fork Bearings
Every fork, both powered and unpowered, had one of these needle roller bearings passed through. The 1/4 inch bore is specifically chosen to ride on shoulder bolts. 1/4 was chosen mostly because I was already using 1/4 inch shoulder bolts for Blastwave IV and would have bearing parity
Limit Switch - Lifter stop mechanism
The limit switches were selected because of their size, and ease of acquisition. They worked pretty well!
Fingertech Power Switch
I used a Fingertech power switch to turn the bot on/off. It's not strictly necessary, as the ruleset of the competition this was designed for didn't require one, but I wanted to design for SPARC/MRCA rules.
3S 550mAh Lithium Polymer Battery
This battery was selected to power the whole bot. I wanted to go 3S to run the Dartboxes at their rated voltage. I didn't have any issues with this battery.
Spektrum Dx6e Transmitter
I originally bought this for Blastwave_I, but this was the only transmitter I have that has spring return on the throttle stick. That lets me drop the lifter stick and stop motion easily, whereas that would be quite the challenge without spring return. I bought it back in 2019, when it was closer to $120 or $150 or something. I would not have wanted to pay $250 for this.
Lemon-RX DSMX Receiver
DSMX receiver that is super cheap. I used to buy these from Endbots, but unfortunately they closed up shop. You can still get them from Lemon-RX, though the antenna is a bit larger than I'd like. I have used them though with few complaints. They are super light and work pretty well.