Dreamphaze V3
30lb Lifter (2023-2024)

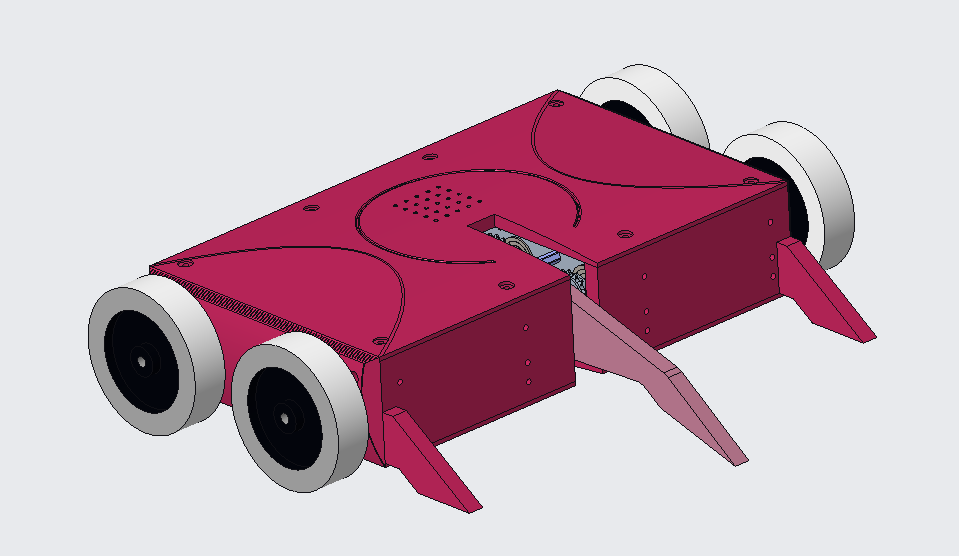
Dreamphaze 3 was designed specifically to avoid the issues plaguing Dreamphaze 2, with additional information afforded from both Melon Brawler 2 and my experience on my university's Lunabotics team. This robot, much like every robot I have designed since the beginning of 2023, was designed in PTC Creo. While versions 1 and 2 of Dreamphaze were designed to have their structural fames cut manually with drill presses and normal tools, I decided to design this version to be waterjet from the start. This would allow me more flexibility and less risk in the design and manufacturing processes. Additionally, with the advent of SendCutSend and other on-demand manufacturing, this is a lot less expensive of an option as it may once have been.
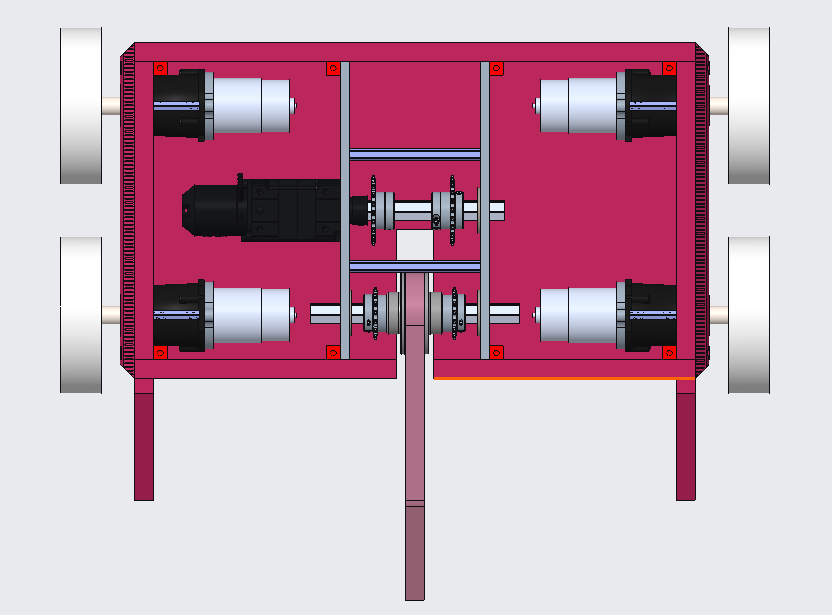
One of the first decisions made was nutstrip. The plates are designed to be attached with nutstrip like versions 1 and 2, though this time Fingertech's "Corner" variety would be used. This would provide a number of mounting holes for the lid, solving one of the primary issues with Dreamphaze 2.

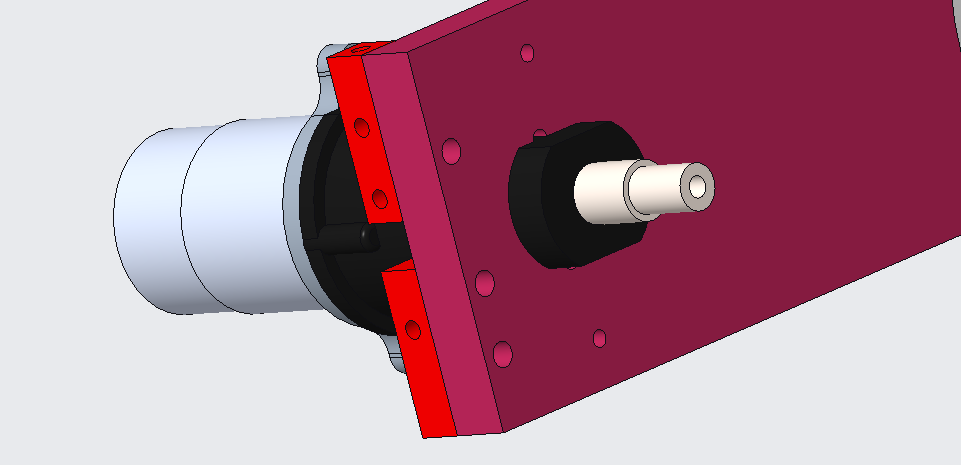
Due to the ability to waterjet, I was also able to make better cutouts for the motors for retention. Previously the plan was to cut a large circular hole and use a printed spacer, but now this can all be handled in the aluminum side piece. For aesthetic reasons, there is a thin 3d printed veneer that is placed over this to improve the look of the bot.

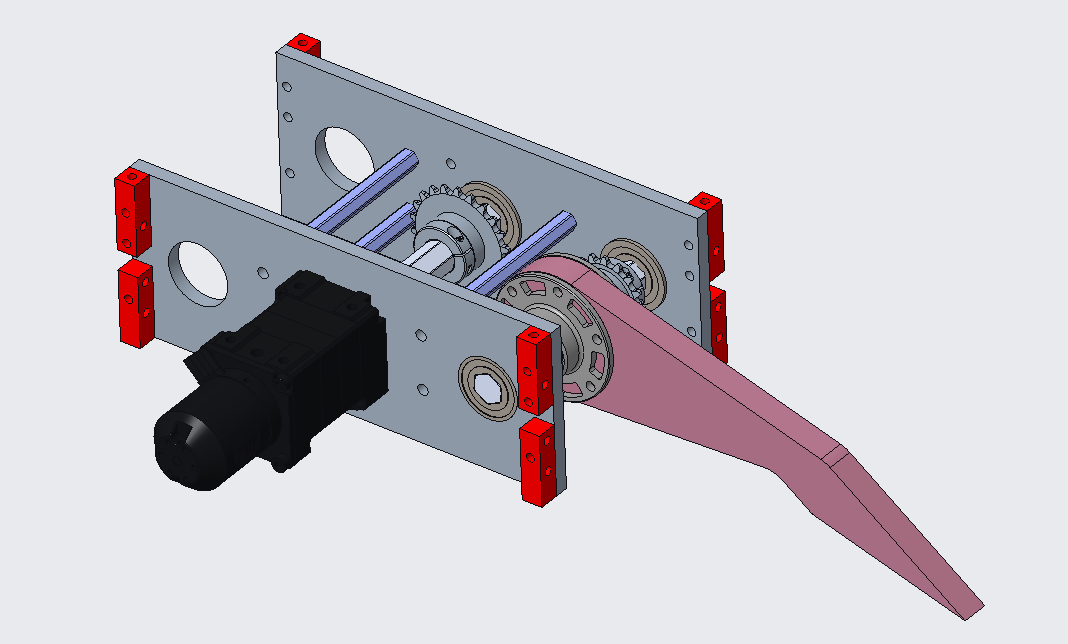
While the weapon gearbox is still a Versaplanetary, the motor has been switched from a 775pro to a Neo550 brushless motor. This decision was made based on concerns by friends that the 775pro would be a weak point of the design, along with the ~30% higher torque of the Neo550.
While chain drive would still be used to transfer the power from the motor to the lifter, a number of improvements were made. Gone were the pillow blocks, and in were two aluminum plates that would run the length of the bot, acting as structural members and enabling better support. The motor shaft would be replaced with a socket coupling and supported on the other side with a bearing. This will hopefully reduce the likelihood of the shaft bending under stress. Additionally, two holes were added near the rear to provide wire routing.
The fork design is currently unfinished (12-17-23), and will likely be updated as the design gets closer to completion

Much like Melon Brawler 2, static forks were added near the front to prevent tipping. I still need to do the math to prove these are long enough, but from a cursory visual inspection they seem to be.

Future Work
- Validate static forks
- Validate active forks
- Finalize hardware
- Add front veneers
- Validate drive motor mounts
- Select Weapon ESC
- Select Drive ESCs
- Design method to prevent fork from travelling too far